info o`clock
How to install the map?
1. General information.
Wall map is one of our key and the most popular goods.
The maps are manufactured from high-quality birch plywood or fiberboard, depending on the colors, subsequently coated with oil-wax that preserves the unique texture of the wood making the map nice to the feel.
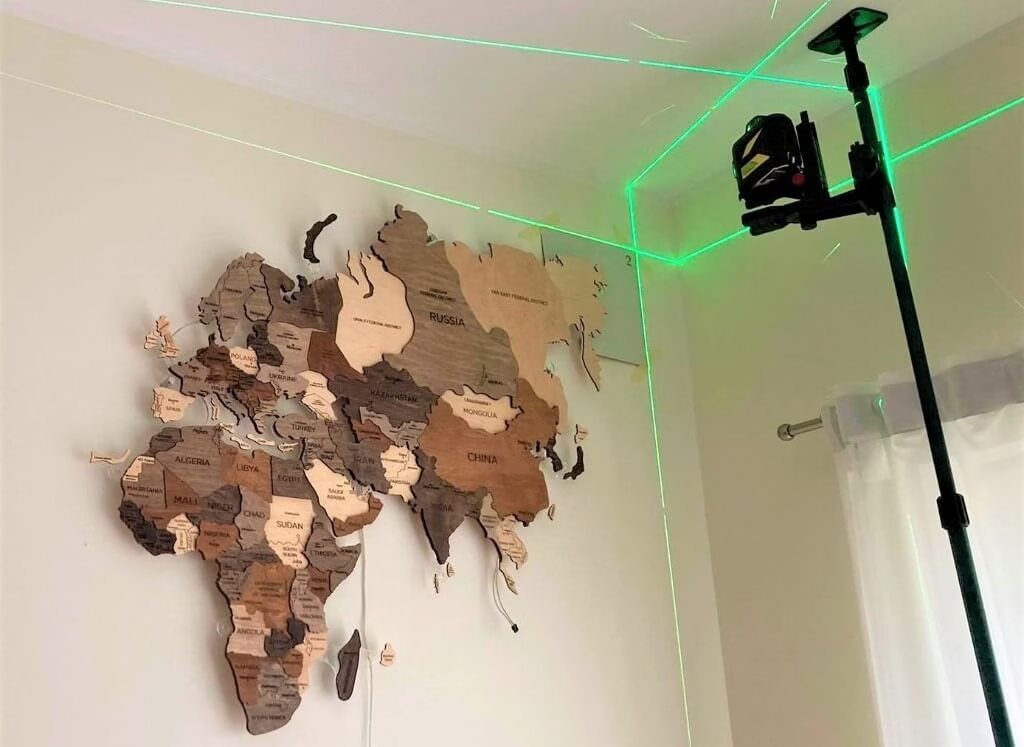
Maps are mounted following so called “puzzle” principle, i.e. from individual parts and are attached to the wall using double-sided adhesive tape or brackets, depending on the map model.
Wall maps are a unique interior design item that will not leave anyone indifferent.
Currently our shop can offer the following map models:
- with 2D effect – flat
- with 3D effect – chiseled
- LED maps – same 3D, but with LED-lights option. The maps are mountable with the help of brackets, and LED-lights shall be connected.
It should also be borne in mind that we use natural wood, therefore humidity, temperature variation, and direct sunlight can spoil the appearance of the map. The color of the finished product may differ from the one presented in the photo; this is explained by the fact that we use a natural material.
2. Mounting on one’s own.
If we consider the installation method as the starting point, then generally speaking we can divide maps into two groups:
- 2D and 3D wooden world maps
- LED wooden wolrd maps
2.1. 2D and 3D wooden wall maps.
Maps of this group do not pose any special difficulty in the installation. Basic requirements are the following:
- Fix the map on flat, smooth surface (adviced)
- The surface shall be cleaned from dirt and dust
- Approximate time for mounting: 1,5-3,5 hours
To install the map on your own you will need:
- Instructions (supplied with the map)
- Double-sided adhesive tape (supplied with the map)
- Painter’s tape (after sticking the tape to the wall, you can mark the map edges on it without leaving traces on the wall. Remove the tape after mounting the map).
- Besides, one can attach angles/stencils with the help of painter’s tape to place the map on the wall correctly (angles are supplied with the map).
- Leveling gauge will also be useful for levelling the map.
2.2. LED wooden wall maps.
To install LED wall maps, you are supposed to have an electric drill and a screw driver as well. Besides, it would be better if somebody helps you to install the map.
From technical viewpoint the installation process is not very complicated:
- Decide where and how the map will be located.
- Using the stencils (delivered with the map) and the painter’s tape, mark the map position on the wall.
- Preliminarily connect the map parts with screws (delivered with the map), the screws are quite small therefore the work is delicate. It is important not to attach too much effort and not to screw through.
When all the screws are tightened, the map parts are fixed well.
- Bring the assembled fragments to the wall and mark the places where you need to drill holes for the brackets (a bracket is composed of a screw, screw anchor and a special fixture for the map).
The wall map already has holes for the fixtures, so the marking will not be difficult. - After that you have to drill holes, install screw anchors and fix the map on the wall.
- If done step by step and thoroughly, will be no problems.
2.2.1. Lights.
- The lights need a socket (220 V); or can be fed through the wire directly (220V)
- The lights can be controlled remotely with the help of a remote control or phone
- Only big parts of the maps – continents- are illuminated
2.2.2. Connection methods (when placing an order for a LED-illuminated map, we will specify which installation method is better for you).
- “Socket is on the left” – a semi-transparent cable with a power block of 12 V (delivered in set) comes out of the lower left part of the map (South America);
- “Socket is on the right” — a semi-transparent cable with a power block of 12 V (delivered in set) comes out of the lower right part of the map (Australia);
- “Wire out of the wall behind the map”— the client shall bring the power supply wire (220V) to the place where Eurasia continent is located (preferably in the center). During installation this wire shall be connected to the input on the back side of the map.
3. Place an order for professional installation.
You can order installation of any type of map that we offer in our online store. At first, our specialists will discuss all the necessary installation details with you and will fix an appointment for the time convenient for you.
The installation duration will depend on the size and type of the map you bought.
Cost of installation:
Pärnu, Tallinn and their suburbs*
- LED wall maps – 150 euros
- Classic 2D and 3D wall maps – 75 euros
*If you are in another city, then probably you will be charged for the fuel costs as well. We have an individual approach to each order.
In case you want:
- To order a map installation
- To specify details of installation order
- To get an advice about a map installation that you plan to do on your own
You can contact us by e-mail, in FB messenger or by phone.
We are always happy to help you!

 Eesti
Eesti Русский